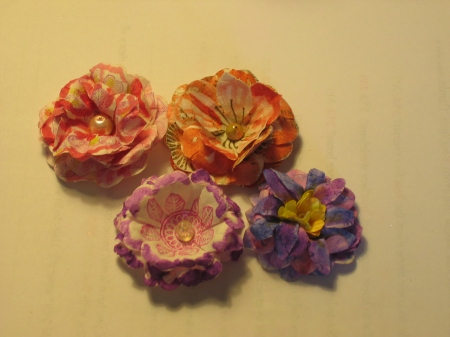
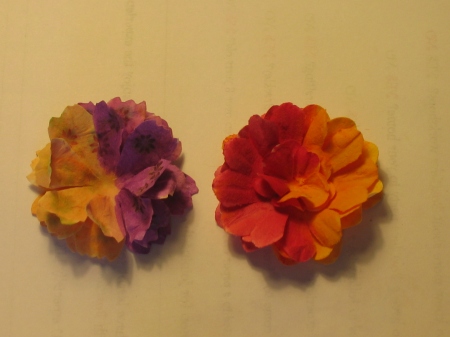
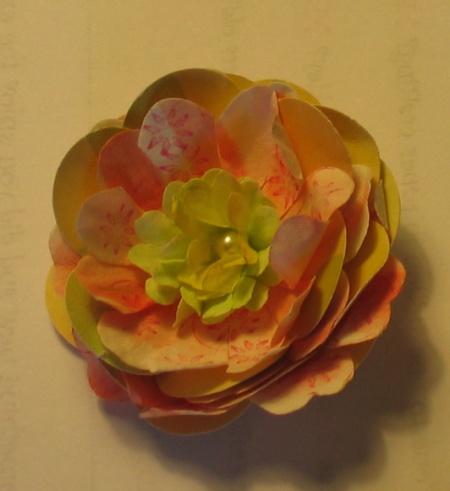
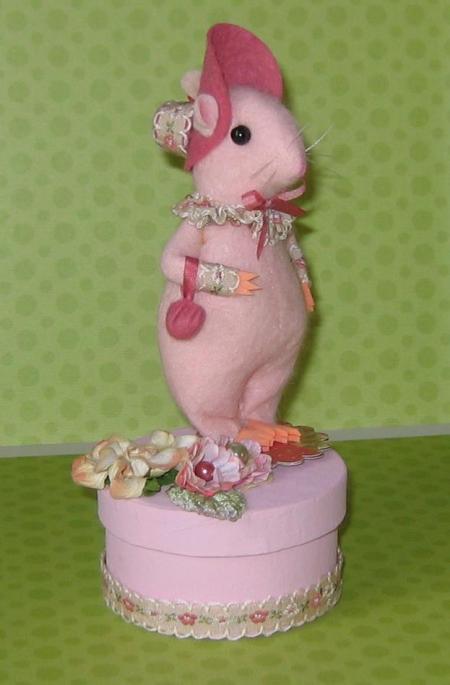
Here we go again!

November 9, 2013

I am so sorry that I have neglected Whimsicals over the past year or so. I have been rather ill and writing a blog about little smelly people was not in the forefront of my mind. 😉

I am feeling better now and can get out and about to a few shows, which means that I am making Whimsicals again.

There are three perfumes this year for Christmas.

The usual all year rounder, Champagne and Roses – for those who don’t like the obvious Christmassy smell. Then, there’s Warm Gingerbread which is a lovely Vanilla like smell and which does really remind one of cake! Lastly for those traditionalists there is an orange and spice based scent, which is totally Christmas as far as I’m concerned.

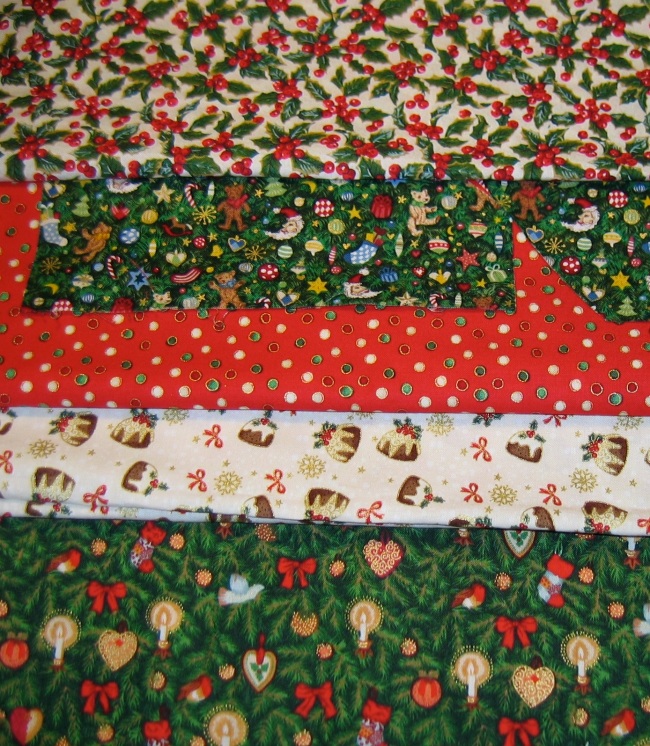
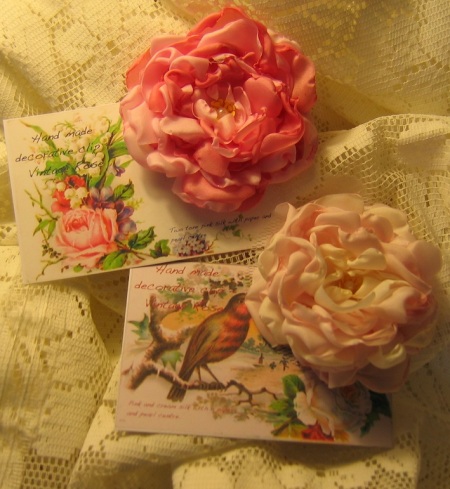
Three new fabrics join last year’s Holly pattern, Christmas Star in red and white and red and white spot. This year we have a Christmas Pudding fabric, a robin and tree design and a multi spot with gold running through it. I still have a tiny amount of the Victorian Tree which I used several years ago and can only make a very few of this design so it’s a case of get it while you can. I also have some snippets of Tilda fabrics which do well as Christmas decorations, and these may appeal to the non traditionalist. Of course we have plain white, red, gold and silver too. For those who’d prefer less Christmassy designs there will be a few all year round pastel fairies and sprites.

Image

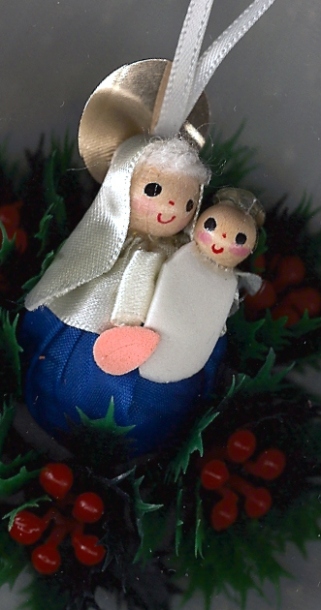
The designs are the usual ones. Fairies of all hues with their sparkly wings and wands, angels and sprites ( which are the ones which are holding things like candy canes and gingerbread men. )

I begin my shows on the 16th November. I have one or two every weekend after that and when we get to the first week in December I have decided to open the sales to my friends who support the dog charity Terrier SOS. For every sale there I’ll give £1 to the charity.

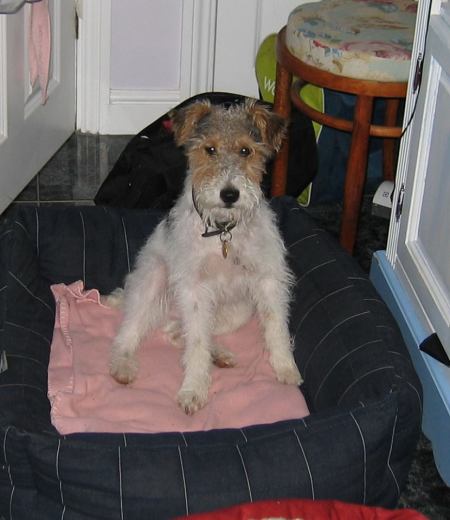
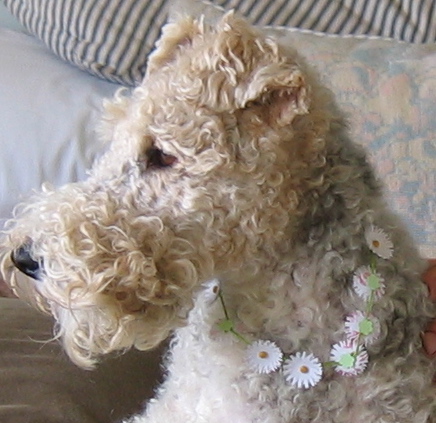
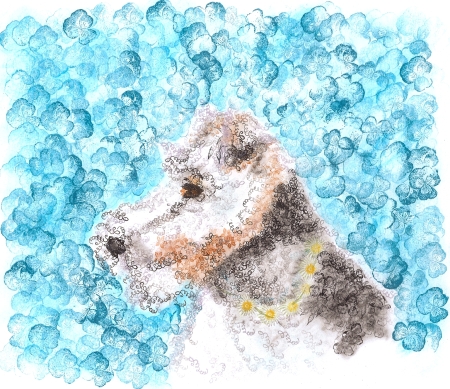
This is the organisation where my beloved Wire Fox terrier Samos comes from. He was rescued from certain death and a horrible existence in a concrete cage at the tender age of a few months old by terrier SOS and I am the lucky girl who got to keep him. So now I raise as many funds for them as I can to help other little dogs like Samos.

This one is made to order and I only make about two dozen every Christmas…so they are rather rare. If you want one, shout out loud after December 1st. AND keep your eyes on this blog. Image

After the 1st December I’ll be posting pictures of all the Whimsicals there will be for sale. Not long now…..


For those who’d like to know here is a link to Terrier SOS  http://www.terriersos.com/

and here is a photo of dear Samos.602728_436549613048171_788754957_n

Just a little question? When is a hand not a hand?

August 22, 2013

Box Cleva has changed hasn’t it?

I did say that I would do that.

So many people are playing with paper and making flowers, paper cuts and boxes now a days, and many of them with machines, that I have rather fallen out with with making things BY HAND with paper. After all why should I labour over something when someone can press a button and achieve the same thing.

I expect it was rather like when, with the invention of the sewing machine, hand sewers laid down their needles and thread and said, “Why bother”.

I am, I admit, a bit of a Luddite when it comes to machines. They have their place, but I feel that, in some instances, there is very little of the hand made about some of the items cropping up on, for example, Facebook and some craft fora I belong to.

It’s the age old debate. How much might you use ‘artificial means to create something before it becomes machine made?

When a potter throws a lump of clay on a wheel and then begins to mould it by hand…does this constitute help by machine?

When a quilter sews a quilt – pieces it together by machine…is this quilt still hand made?

1095100_523726487681973_1218353697_n

This is a project made by my friends Faeries in My Garden. All hand embroidered.

My friends and I went to The Quilt and Patchwork show at the NEC the other weekend. It was wonderful to see what people and their imagination can come up with. It also brought it home how easy and ‘dummed down’ a lot of sewing has become. There were, naturally many beautiful hand made items on show. You could tell which were hand sewn and which not. There were also, lots of demonstrations of sewing with fancy machines costing the earth, which you just pointed in the right direction and off it went….as if by magic.

I had a conversation with lady on her stand ( about dogs as it happens ), when her machine was whirring away and at the end of our five minute chat, it had embroidered a house and garden onto a T shirt! THAT is not art. THAT is not hand embroidery and can never, in my humble opinion, be compared with something which has taken weeks to complete.

No. I’m a hand person and will remain so.

And so to my question.

If I stopped writing on this blog – discontinued it, how many of you would miss it? I’ll continue my Facebook page for my boxy finds and for anything I might make in paper now and again…but here, I wish to stop. Would anyone REALLY be upset?

I have other fish I’m frying at present.

Heartfelt, the Medlar House Mice and stockings at Christmas and Gather Ye Rosebuds ( some of you know these two ) for pretty flowery things, are my other two pages. I feel that they now represent what I am making, in a better way than BoxCleva does. Everything comes to a natural end. I think BoxCleva has.

58a3e5f


And in the Boxing Ring Today…..

May 24, 2013

Whilst I am on an enforced ‘work’ holiday owing to a frozen shoulder, I thought I would post something pretty that is not my work. It wouldn’t be fair to leave you without some boxy jollity this Friday in late May. YES! LATE MAY though it feels like November!

Cold, wet and windy!

So to cheer you up, I’m going here, to combine two of my loves. Embroidery and boxes.

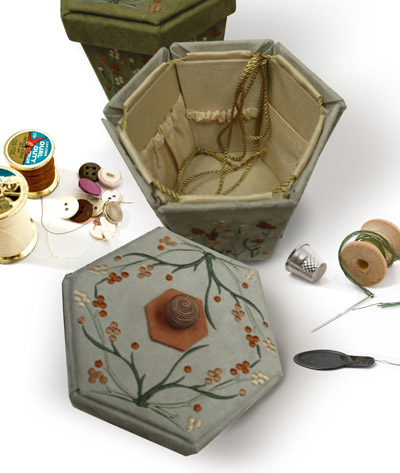
I’ve made all sorts of boxes in the past and some of them were embroidered. Some were made on plastic canvas, others had to be made up rather like the Etui , little containers used to hide away all those sewing requisites ladies needed, in the past, to create their beautiful and yet functional works of art, which you can occasionally find in antique shops

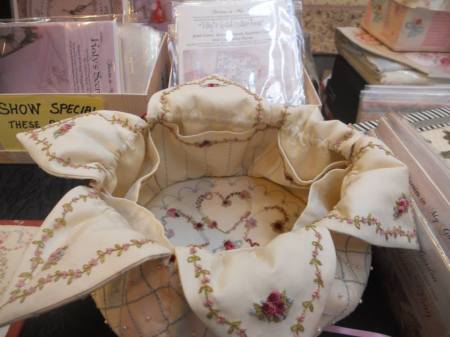
So lets, start with an etui. Thank you Sewin’ Birds for this lovely example.


etuiSmThe design is quite simple and each piece folds out to hold pins, needles snippets of lace or scissors.


Small Treasures


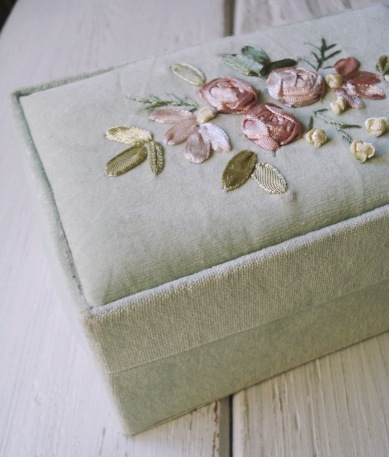
This little box is covered with a plain material and then ribbon embroidered. For those who have never tried it, it’s a form which grows quickly and can be very satisfying as a result. There are oodles of books online which show you the rudiments.I can recommend it if you think you haven’t the patience for silk or cotton work. Thank you Small Treasures for this piece.


389122_344135525708827_9643834_n


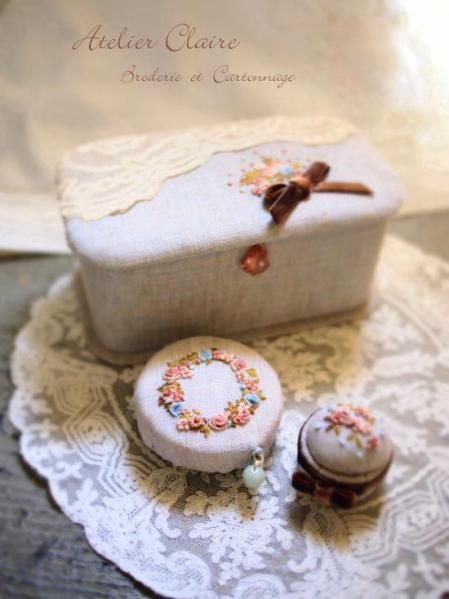
This is from one of my favourite embroiderers. This lady, in Japan runs courses on Cartonnage – the skill of making boxes and then- she embroiders them beautifully. She often uses lace and ribbon to add dimension to her work. Go and look at Aetelier Claire ( who also has a Facebook page ).

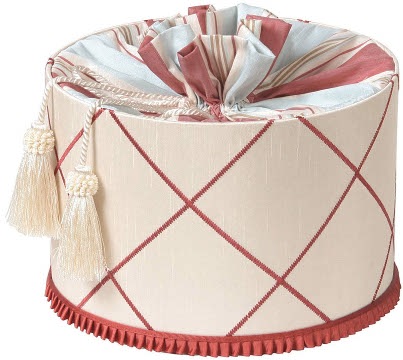
Jennifer Taylor does some super work and here is one of her little round hatbox type containers. Not embroidery as such, but it could be with its fancy edge and criss -cross pattern. Love the tassels!


jennifer-taylor-cornelia-decorative-boxes


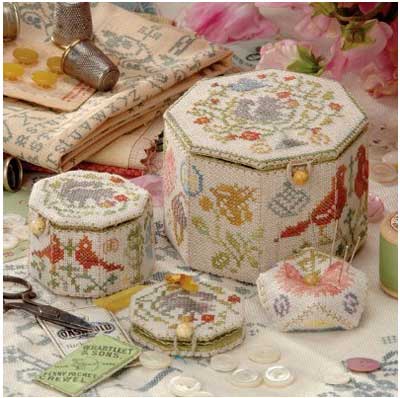
If you are into cross stitch or needlepoint then a plastic canvas may be for you.


3D-Cross-stitch-Embroidery-Needlepoint-Fabric-Set-DIY-Unique-Craft-Home-Textile-House-font-b-Tissue


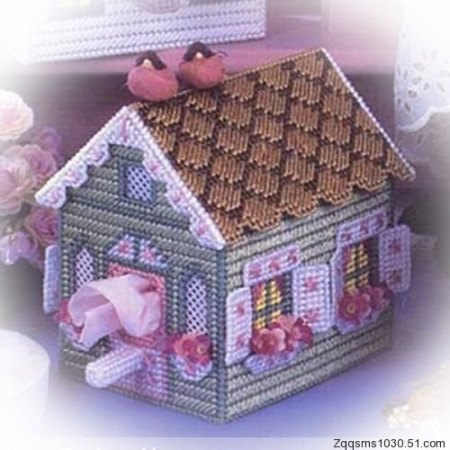
This one is a tissue box rather like the one I made in my last post but this is made into a bird house shape. They are great fun to make and a little less demanding than free embroidery.


Tiny_Treasures_Kit_01


This one is on the same principle but a little more advanced. Tiny Treasure again. I think this looks rather homespun and has a sort of American Colonial look to it.


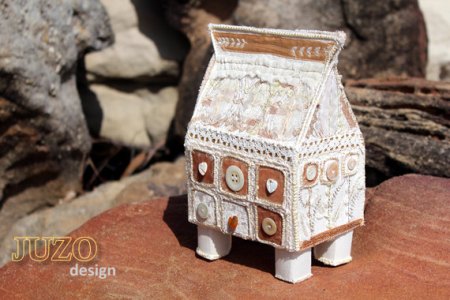
il_570xN.375929564_9kt6


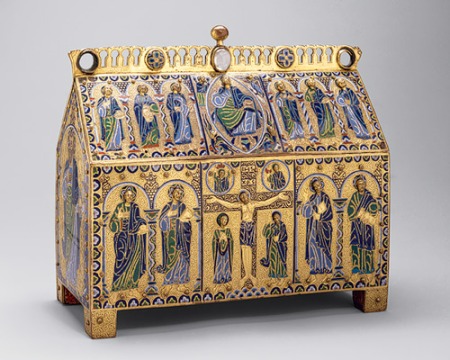
This is just the cutest design. It’s based on the Medieval reliquary; those beautifully decorated boxes which were often peppered with jewels, festooned with gold wire work and fine enamels. Of course they had to be sumptuous – they housed the bones of venerated Saints.

Like this one…..


h2_17.190.514


The sewn one hasn’t got any bones in it….I hope.

ON the same lines….

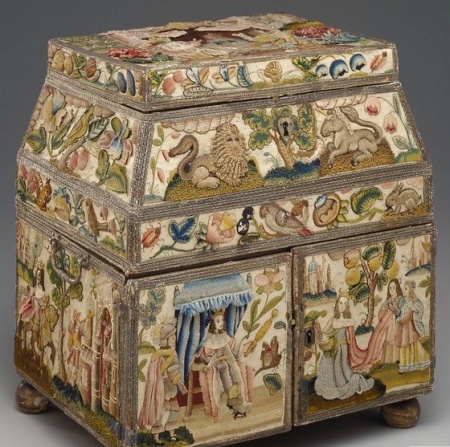
The Stumpwork casket.

I have loved these exquisite little cases since I was a girl and was first taken to the Victoria and Albert Museum at about 8 years of age. To be told then, that children of my age were the ones who embroidered them…well…you can imagine how that took me?


16d4778a3cf9b9ee0d0372e3e37f2fc5


Go here to find out about Stumpwork….

To me, this is the epitome of the needlewomans’ art. FABULOUS!

Looking at these and compiling this post for you is rather a torment to me as my fingers begin to itch to take up a needle…but I have to be patient. Besides…my new puppy comes tomorrow..and I have to devote all my spare time to him for the next few weeks.

Maybe just as well!


942003_10151452749849077_274645682_n


See you in a while……. 🙂


58a3e5f

Atichoo- it’s Boxing Day.

May 8, 2013

This post is about a box. A different box from the ones I usually make but a box none the less. Well, what do you expect from BoxCleva?

I bought this box at one of my local shops with a view to covering it with fabric. The fabric I’m using, matches my bedroom and en suite curtains, my bed linen and headboard but you can have any fabric you care to use.

It’s possible to turn a boring box of tissues into something a bit more exciting and match it to your decor.

Have you ever thought of buying up discarded swatch books from your local interior designer shop? I did. They are practically going to give them to you as they need to dispose of them when they are out of date and this can be a problem for some shops. Not all the material contained in the books will be useful to you, but if you chose carefully you can come away with metres of good quality fabric in lots of colour ways.

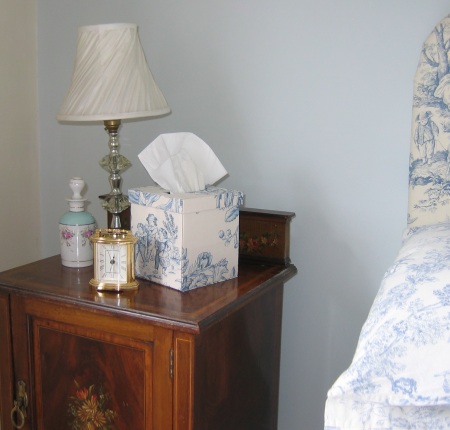
I used a matching blue Toile de Jouy for my tissue box cover, from one such book.

What you need to do.

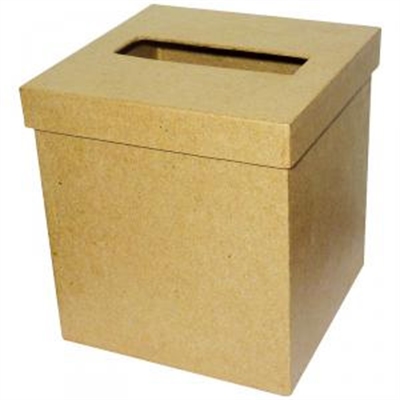
Get a blank pressed paper tissue box cover.


0052146_400


These are cheap enough to buy in craft shops and can be had almost anywhere. Some have lids, others don’t.

Measure each side ( no, they are not always all the same in that they aren’t always symmetrical, so best to choose carefully. They are made of pressed paper so are sometimes a bit wonky . )

Cut a thin piece of card for each face. Make sure the card isn’t too thick as obviously, it will be thicker once you have added material.


Untitled


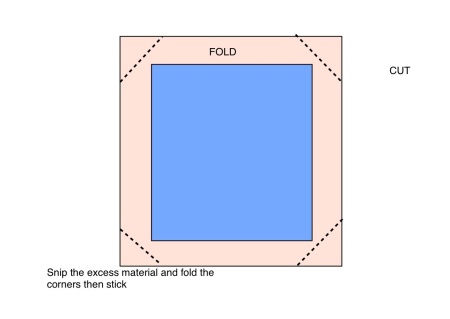
Lay the card in the centre of the material and snip round the edges leaving about an inch. Cut on an angle, each corner and discard the bits. Fold over the material and stick to the back of the card.Then stick each covered square to your box. ( Make sure that the lid still fits on the top if you have a box like the above). You might like to make sure that the material panel is straight by lining it up with the surface upon which you are making your box. This means you need to make sure your surface is LEVEL.

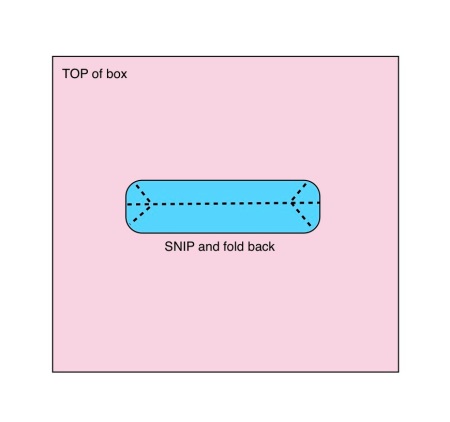
For the top…. Cut a slit in the material, at the place where the tissues emerge through the hole.  You can do this by drawing through the hole on the back of the material, with a pencil and then cutting to the lines. Fold back the edges and stick to the underside of the box lid. Like so…


Untitled


Fold a little material over the narrow edges of the box lid and stick it. Then do the same thing – make a covered piece of card and attach it to the small sides of the lid.

Your box will look very professional if you make it in this way. You can then, if you like, decorate the edges where the pieces of material meet with ric- rac, or braid, ribbon or lace. Or you can leave it plain. Like mine.


My little Edwardian bedside table and a new tissue box holder.

My little Edwardian bedside table and a new tissue box holder.


Happy Boxing Day.


58a3e5f

For the price of a stamp…..

April 17, 2013

My last post was about making little flowers from ready made punched out white mulberry paper blanks. Now I shall show you how to make some from scratch.

img_6050

Many of you who have followed this blog from the beginning, are paper crafters with a stash of tools to your name. I bet a lot of you have a few punches ( or if you are like me a LOT of punches!) Before I commence on my theme of the day, I shall digress just a little.

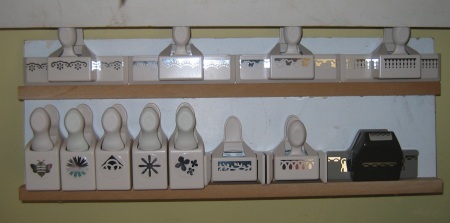
My dear husband has made me a rack for my Martha Stewart ones. I like her edge punches best and these are hard to store as they aren’t stackable and have sticky out bits which catch on everything imaginable.

IMG_6153

Stampin’ Up punches stack nicely, flat bottomed punches, like E craft and Fiskars, Xcut and Tonic sit nicely on a shelf but Martha Stewart…no. So just to show you what you can do with a bit of old wood. It’s great. I can see them at a glance and they don’t fall onto the floor and crack! ( Hard to see, but the shelf is angled backwards slightly ).

Back to flowers…..

PAPFILB_MAIN

If you can get hold of a packet of WHITE coffee filter papers, this is the raw material for flowers of all kinds and shapes. I had a job getting them. No local shops had them…only brown. I had, in the end reluctantly to go to Ebay, but having said that, they were cheap and postage was included. Always a bonus in this country ( U.K. ) where post goes up by the minute! So for the price of a stamp ( no pun intended ) you’ll have material for lots of flowers – which of course you can pattern with tapestry Stamps. Don’t know what these are? Go here.

So, there we are with a packet of 100 white coffee filters. Depending on the size of the flower you wish to make, one filter will make you one large and one small OR several small flowers. This is quite a saving on buying ready made coloured and printed flowers from craft suppliers!

After my last post someone asked me why I felt that mulberry flowers were better than the sort you punch out from card stock or paper. The answer might be that mulberry is very durable. It can be crushed, folded and cupped and it will keep its shape. Ordinary paper is more fragile and cardstock, after a while sometimes, begins to shale, in that the layers making it up will part. This doesn’t mean I don’t still want to use these papers but I’m in love with Mulberry for its sheer versatility.

IMG_6060

Get out your punches! Have a look at them…really look at them and find out which ones will go together nicely to make the flower of your choice. If you have a series of punches of the same design, ( as I do ) in different sizes, these are great for making these flowers.

flower-tutorial_1-300x200

Image courtesy Little Black Dress Kit Club

Punch away to your heart’s content!

Now comes the fun bit. You’ll need some water colour for this. Another question someone asked me after my last post was, do I have to use water colour? No indeed. Any paint will do, or ink too. Acrylics., if you have them, will work but need to be thinned and you can do this either with acrylic thinners or water. Even standard children’s poster paint will give you fairly decent flowers. I use water colour -one, because I have a lot of it and -two, because it is so blendable, dries quickly and gives a good effect when both thicker and diluted.

If you are coming to this post as a newbie flower maker, you might like to understand my terms, cupping, cutting etc.

If you punch out a flower which is rather a solid shape, in order to make it bend like a real flower you’ll need to snip it towards the centre a little way, on every other petal.

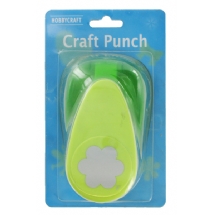
Hobbycraft again...large flower punch ( I call this an undivided petal daisy)

Hobbycraft again…large flower punch ( I call this an undivided petal daisy)

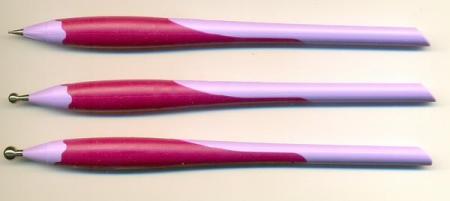
You then take a pergamano tool ( pergamano is vellum craft – that tough see -through paper which is scored and punched and patterned ) such as a ball tool which is rather like a pen with a ball point to the end. These come in several sizes. You rotate the end of the tool in the centre of the flower petals and out into the middle of each petal. Watch it curl upwards – this is called cupping. You need to do this on a pad which is rather like the old fashioned mouse mat. You can find this sort of pad in craft shops.

cooper2

I’m going to be lazy here and let you see another person’s take on making flowers from here on…..Jan’s Tutorial  

It’s just the same as mine but you might like a different voice…  😉  She does things the same way I do! Thanks Jan.

Before this you’ll need to colour your flower. It’s not always necessary to colour the whole flower as leaving little bits of white make for an interesting pattern. I striped some of my petals and some I just tinted, others were washed with paint  deeper in colour. It’s up to you how you do it. A word about EMULSION… I was taken to task in my last post for not explaining the term for my American readers! It’s WALL PAINT – ordinary paint – not the sort you use on wood. It comes in several finishes and it can be used on Mulberry paper too.

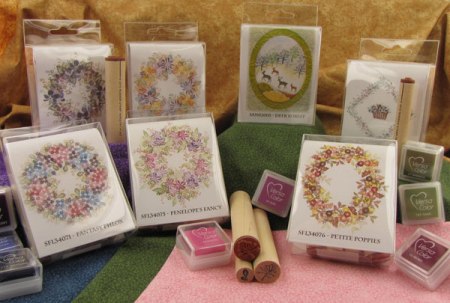
A word about Rubber Stamp Tapestry Stamps. These are absolutely perfect for making patterns on your flower petals. Go HERE to read about how to use them.

Click the words above to go to the site to buy them. 2010sets

You don’t need to colour your petals. If you’d like to leave them blank ( white ) and just stamp with inks with stamps, they can look equally good.

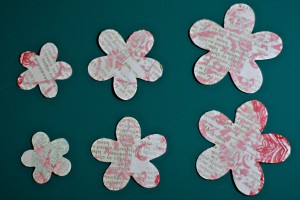
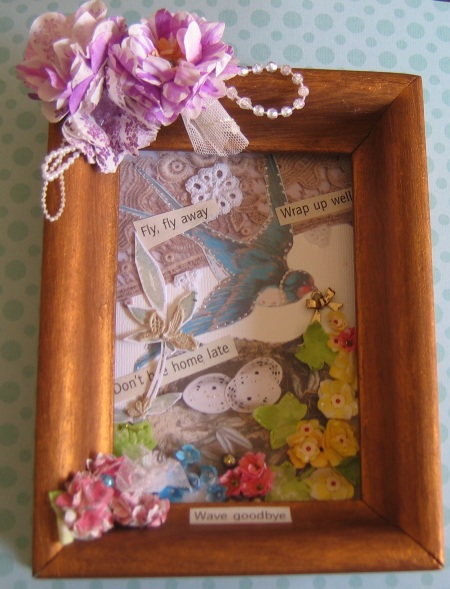
I made this frame last weekend with stamped and coloured filter paper flowers. I used an old tatty book for the wording and for some of the flowers. Punch the words out in your chosen script and then colour the petals with paint. ( Not too much or your words might blur ). Stamp onto the petals ( if you want to )  after you have painted them ( if you are using water based inks. )

IMG_6149IMG_6147There we are….
saving money…all for the price of a stamp ( or if you are in the U.K. a few stamps ….Royal Mail that is )

😉

Patterned Petals Prove Prima perfect!

April 1, 2013

I’ve had a lot of problems photographing the different stages of flower production in the BoxCleva studio! My usually reliable camera which is an ‘autofocus’ one has decided to play up and and not autofocus.

But I’ll do my best to help you to make flowers which are similar to those you can buy in the shops online from Prima Marketing. Now, these flowers, beautiful though they are, are rather costly and you often only get a few in a pack. I’d like to show you how you can make flowers ad infinitum – cheaply. All you need is some mulberry paper blanks ( Docrafts, Wild Orchid Crafts, and there are several other shops that sell them ) which are white. You can buy many differing shapes of flower and usually a couple of sizes of each. You can mix and match them by shape or you can use the same shapes on one flower.
images

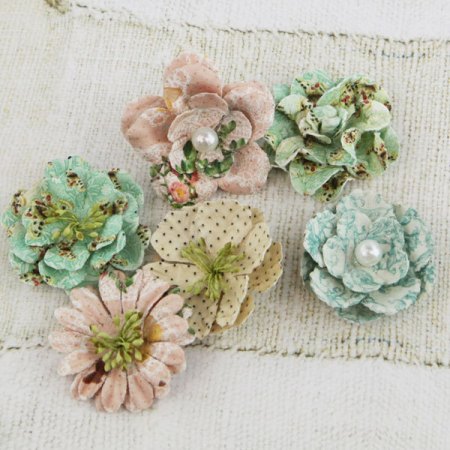
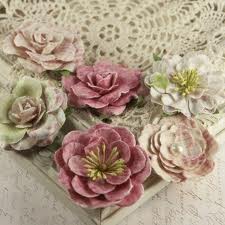
Prima flowers which are printed and ‘painted’

You will also need some ordinary craft papers, those that you like either plain or patterned. You’ll need a soft mat on which to shape your flowers and a couple of tools ( ball ended ) to make the flowers stand up. The next thing you need is water colour paint and perhaps some emulsion which come in the form of match pots. These can be had for about a £1 a pot at DIY shops. Chose those you can mix and match, to make up other colours and always have an eye on compatibility of colour. Now, you’ll also need some Tapestry Stamps ( or indeed some similar tiny stamps ) and some inks. These can be had from Rubber Stamp Tapestry. There are three stockists in the U.K. but the choice from RST themselves is so vast that it’s better to get them from the U.S. You might think that it’s cheaper from the U.K. Actually I’ve found there isn’t a lot in it with the costs of postage in the U.K. so high. Do go and have a look at the RST site. You’ll be blown over by the variety.Lastly you’ll need a flower punch which is compatible with the flower shapes you have chosen. You can of course cut these by hand if you wish.
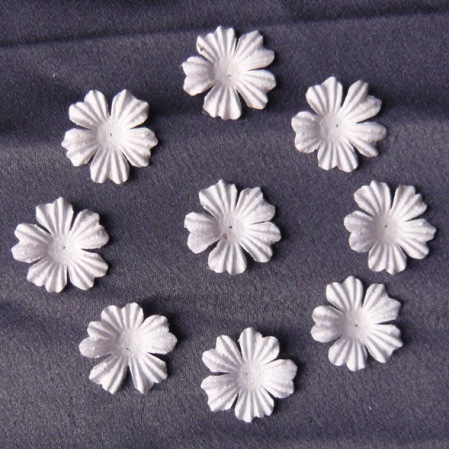
BM-00041

Firstly we shall use LARGE petals.

The first we shall try is that which can be made by using the emulsion. With a small flat brush take some of the paint and lightly touch the petals of the blank flower you have chosen. Brush them from the middle to the tip and don’t worry if the petals are not fully covered. It doesn’t matter. Leave a gap in the middle and then take some green paint and brush the middle out into the petals, using the EDGE of the brush. Make sure it’s quite a thin amount and you’ll see how the paints merge.

Now, because your petals are a little damp with the paint, use your ball tool to mould the petals into shape.

If you’d like your flowers to be quite cupped use a large ball tool and go round and round in the middle of the flower, then out into each individual petal. If you would like it to turn over, use the tool on the underside and just do the tips. Turn the petal right sides and cup it again in the middle. Add three together and cup all three. If you would like them to be a bit crumpled, you can actually take them and squash them as the mulberry paper is very durable.When dry they will stay put in the shape you have made them.
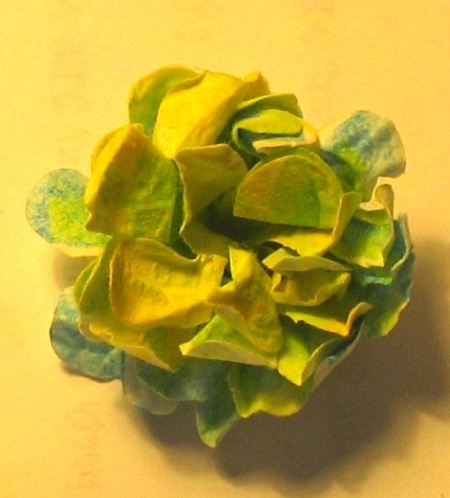
green

This flower has been stamped with blue ink before painting, with Tapsestry stamps and then crushed when wet.

You then need to take your stamps and with the ink colour of your choice, stamp the petals with a pattern. Here and there or all over, it’s up to you. Let things dry. You might like to re- cup  or re-squash the flower if you have flattened it a bit.

Then all that’s needed is for you to add an embellishment in the middle, a pearl, a metal flower, a rhinestone, a bead or perhaps a sequin. You can of course also punch out another small paper flower and use that. Or you can make a small version of your big flower and add that to the middle.

If you would just like to have pattern and no other colour on your flower, stamp with several colours of inks with Tapestry Stamps, onto the white flower, overlaying as you go. You can of course use different stamps for each colour too, should you wish.
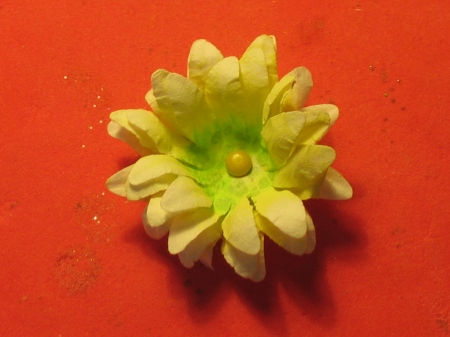
IMG_6055

This pale yellow flower is touched with emulsion on the petals and then with green in the centre. Finally the middle is stamped with green ink with a Tapestry stamp and a brad is added.

Now to using water colour.

You can use it very thinly or you can have a bit more colour in it by working the paint a bit more, with less water. A smallish water colour brush isn’t really necessary but I find that they work well if I want to just touch a small area with paint.
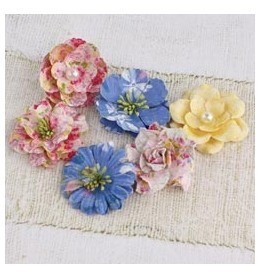
$(KGrHqN,!pUFBQWUHwrEBQbr-cF!hg~~60_35

Prima flowers

IMG_6050

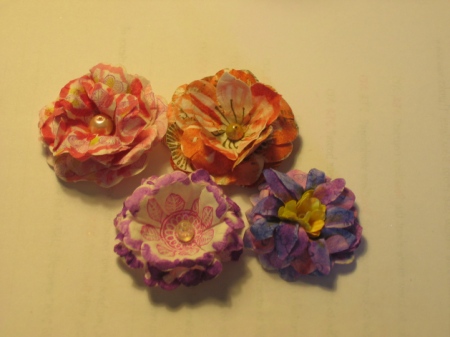
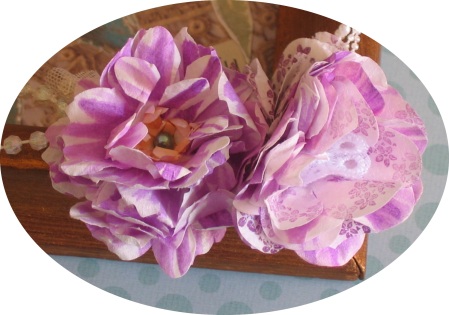
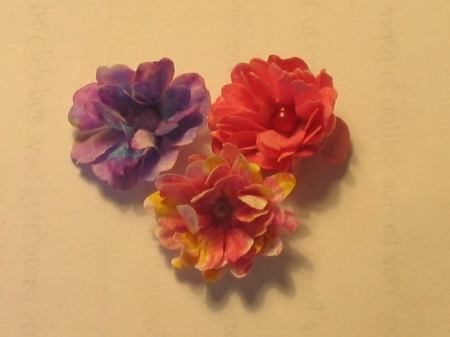
My version of similar flowers. The blue purple one has been ‘reversed’.

You can make these flowers two ways. If you want to blur the Tapestry stamp pattern a bit and only have water soluble inks, you can stamp first then paint after. If you have waterproof inks, you can paint before you stamp and if you want a crisp pattern, it’s best to stamp afterwards, with water soluble inks.
IMG_6059

Tiny flowers for centres or just as they are.

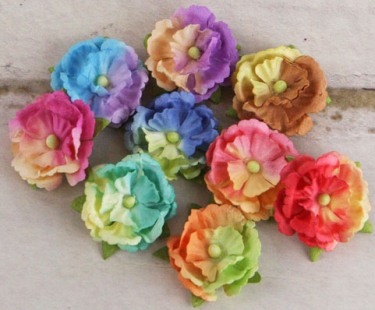
You don’t have to colour in the whole flower and you can use several colours on one flower. You can layer the petals ( you must have three at the very least to make a convincing flower ) and they don’t have to be the same colours or patterns of stamp. Use your imagination – Go WILD! Here Prima flowers are made in two colours each half and half and you can see how it’s possible to blend the colour. These are plain flowers with no pattern though.


pri-561505

Prima flowers


IMG_6058

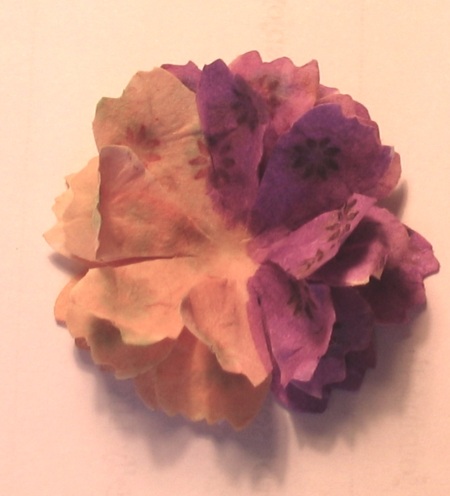
My version of the above with no centres as yet. The left one is patterned with Tapestry stamps.


IMG_6058

Lightened so you can see the detail of the stamps.


Note the fancy edges too. You can achieve this by using deckle scissors or pinking shears and curling the edges as you dry the flowers.

As the mulberry paper is so tough, even if you handle and crush, cup or squash it at the wet stage, it will keep its integrity and that’s good. I use a hot melt glue gun to secure my petals together and you can bend the petals, should you wish and secure them with glue wherever you want , bend them over on each other, fold them over or crush them up and glue them, to make the most amazing flowers.

You can even cut the mulberry paper into a snake ( as I’ve taught you in previous posts) to make a centre like a rose. ( see next picture centres of flowers )

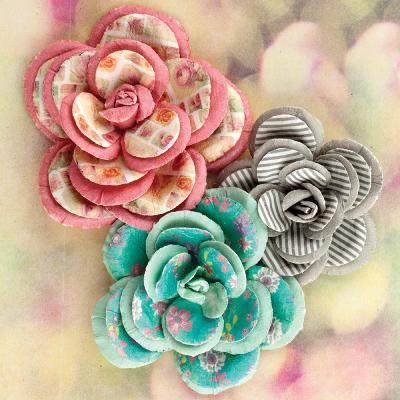
Next you can use ordinary craft paper to layer your flowers so that one petal becomes plain ( or printed patterned ) and the next one, is one which you have made from scratch. This is what the Prima version of this looks like and below is how you can make them look yourself. All you need to do here is cut down the white petals or make sure that your punched flower is larger than your white mulberry painted ones.
 

Prima-Hello-Pastel-FLW-PRINT-W-SOLID-EDGE

Prima flowers


pink

My version of a similar type of treatment but with a smaller mulberry flower in the centre.


The smaller versions of the white mulberry blanks can be used in exactly the same way as the large ones, though you have obviously a smaller surface to paint and print onto.

Now, what shall we do with all these pretty flowers…..why add them to a box of course!
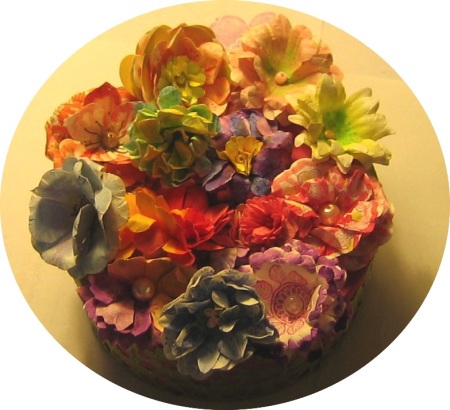


IMG_6060


58a3e5f

A Re-flowering.

March 31, 2013

Recently I’ve been having a bit of a rest from paper.

I started a new page on Facebook called Heartfelt. DO go and have a look if you like mice and rabbits!

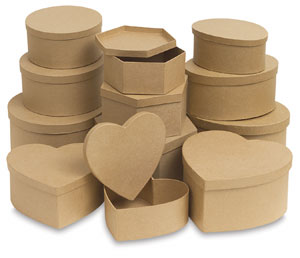
Not so long ago a friend gave me a lot of small pressed paper boxes. She was clearing out her craft room and she wasn’t going to use them any more; her loss was my gain.

60013-group-2ww-m

These boxes were in several sizes and quite a few shapes – just like those I had used before to good effect when I created my BoxCleva Vintage look range.

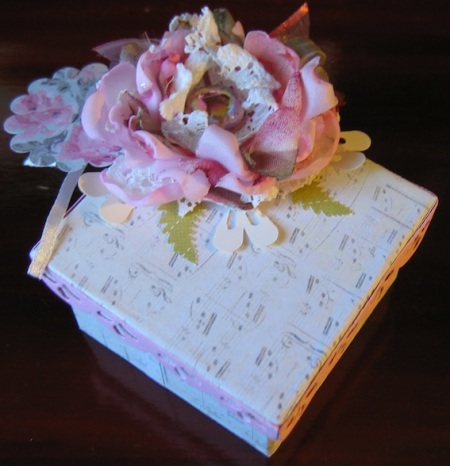
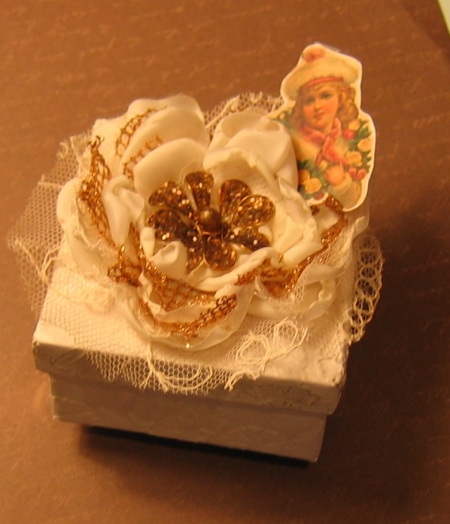
A musical box! 3 inches square. Unusual colour scheme of pink and green silk and muslin with Maltese lace panels and paper leaves. I'm doing my bit for recycling here as the lace was once a tablecloth and the muslin, a scarf and in the centre is a glass dome bead I have had for nigh on thirty years!

A musical box! 3 inches square. Unusual colour scheme of pink and green silk and muslin with Maltese lace panels and paper leaves.
I’m doing my bit for recycling here as the lace was once a tablecloth and the muslin, a scarf and in the centre is a glass dome bead I have had for nigh on thirty years!

Yes…this box was once one of these unprepossessing pressed paper ones.

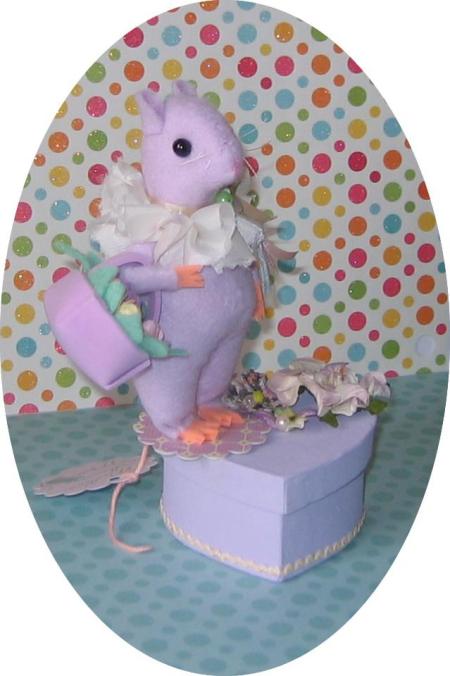
I didn’t want to make any more Vintage  boxes though.What I did want was pretty boxes on which to mount my new mice and hares, over on Heartfelt and so a collaboration between Heartfelt and BoxCleva was the order of the day.

562160_508191245905977_547915366_n

I painted the boxes, both inside and outside with match pot emulsions in very pretty colours of pink, yellow, pale green, lavender and pale blue. Since these boxes were to be used as stands for figures I couldn’t decorate the top completely as I might have done previously. I needed to keep a space for the bases of the figures to rest. ( above ). This set me thinking about paper flowers again and how I might make some which resembled the Prima flowers which are SO beautiful and decorative, if rather costly.

262174_507883579270077_143541720_n

Prima have brought out ranges which are multi coloured and which seem to be made from papers with patterns on. Most of them however are made from Mulberry paper, in itself a costly material and I suspect they are printed and starched in sheets before being die cut and formed. Here you see what I mean.

Prima_Vinetta_flowers

Now you ALL know how much I love my very versatile Tapestry Stamps. I sat looking at these flowers for a while trying to work out how I might use my beloved Tapestry Stamps to make the patterns on the flower petals before I painted them with watercolour and shaped them to form all sorts of fantasy flowers. The boxes above have flowers all made by me with this technique.

I bought some white die cut mulberry paper ( well, I assume that’s what they are ) flower petals in the raw from Docrafts. These are inexpensive and come in two sizes and about four patterns of flower petals.

By stamping with different inks and small and large Tapestry stamps onto the white petals and then colouring lightly with water colour paints, I was able to make up a variety of similar flowers to those Prima ones sold by the sixes and tens above.

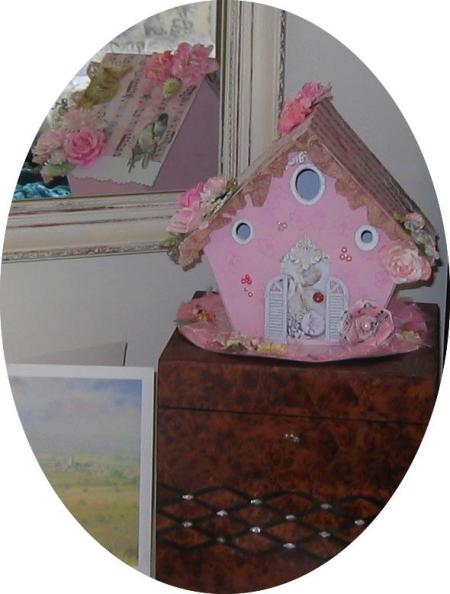
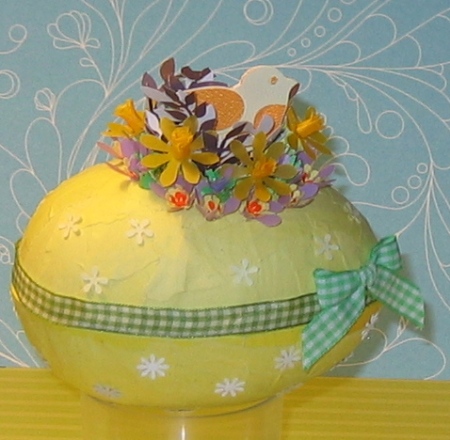
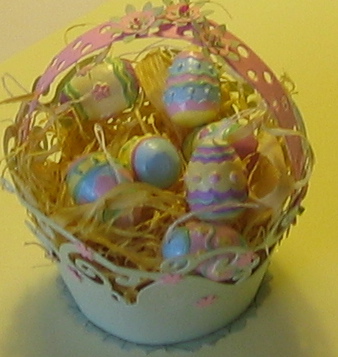
I also tried painting the flowers with the emulsion I used for the boxes to great effect. This stiffened them nicely too. Here you can see how I used the flowers on the little Spring houses I made for Easter. All these flowers were made by me with these techniques. And they cost a fraction of the price of the Prima ones. You can afford to go a bit mad with them, when they cost so little!

6763_441328879276537_1133475959_nIn my next post, I’ll show you all how to do it.
58a3e5f

Deck the Halls with Bowls of Choccy, Fa la la la la…..

March 27, 2013

This year I have had a lot of fun ‘doing Easter’

I normally deck the halls with flowers and choccy but his year I’ve gone a bit mad.

There are eggs everywhere, rabbits abound as if they have been allowed to breed and mice..well, we are rather overrun with mice. But not enough to send for the pest control. For of course, these are Medlar House Mice. My latest creation.

I’ve used them in my Easter decoration, those that are Easter themed.

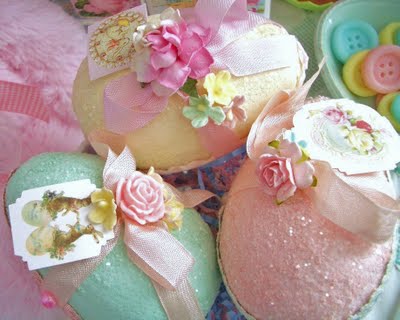
I’ve blown dozens of eggs and painted them with emulsion. Some of them I finished in Mod Podge  so they are shiny. Others I have glittered, either with glitter paint or with real glitter and glued on.

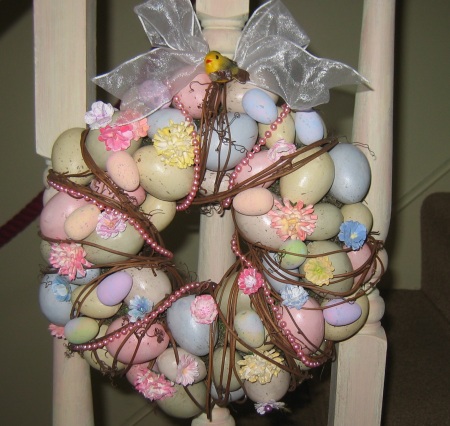
This creation,IMG_6011 which sits on my stair bannisters, is made from real and polystyrene eggs caught in twigs. Paper flowers have been added to the design and I’ve twined pearls around the wreath.
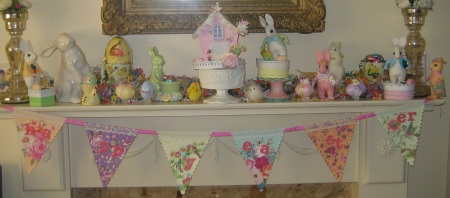
The mantelpiece looks like this…

IMG_6007

with rabbits, mice, eggs and a sweet little Easter house which is light up.Go to BoxCleva on Facebook to see more of them.

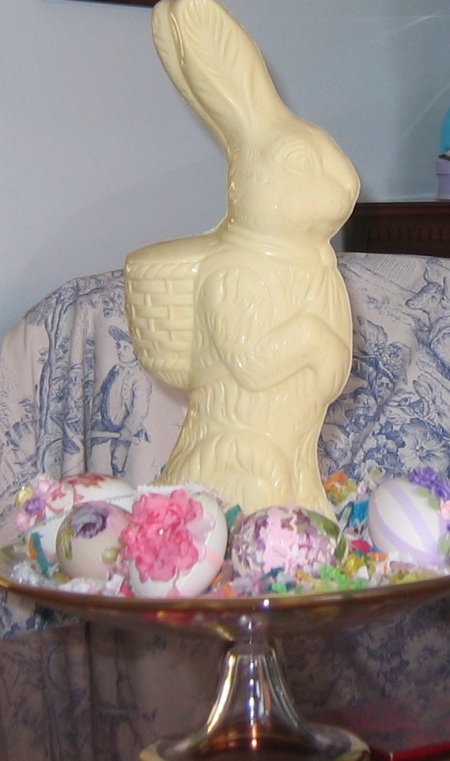
My favourite bit is this wonderful hare made entirely in white chocolate by Belflair chocolates of Brackley ( one of our local businesses ). He is the traditional Germanic type with a pannier filled with eggs or flowers. I wanted to put him in my large Apothecary jar but sadly he was just a little too fat. So I put him onto my Italian glass gilded cake plate instead and I think you’ll agree, with the addition of some shredded tissue paper and a few decorated eggs, he makes a pretty picture.

IMG_6006

So now I’m ready for the holidays.

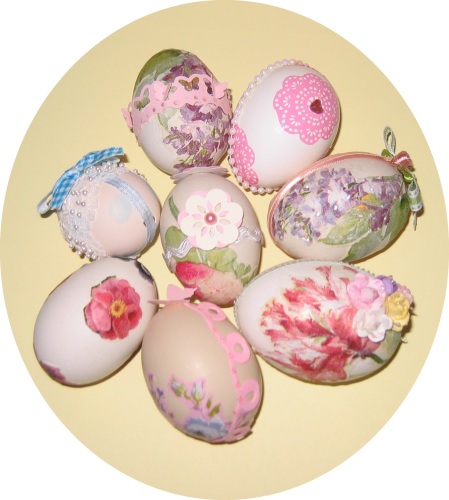
Every friend that comes to see me gets to chose an egg from the growing collection. A good excuse for me to blow and decorate some more! HAPPY EASTER!

58a3e5f

Glitter is great!

March 15, 2013

Over the past few weeks on BoxCleva I’ve been giving you tantalising glimpses of eggs which I’ve been making for Easter. Some are eggs I made last year and the year before. My collection grows with the years. This year I’m into glitter.

eggs

Today I’ve been glittering little real painted eggs and some larger papier mache ones.

I thought you might like to know how it’s done. Or at least, how I do it.

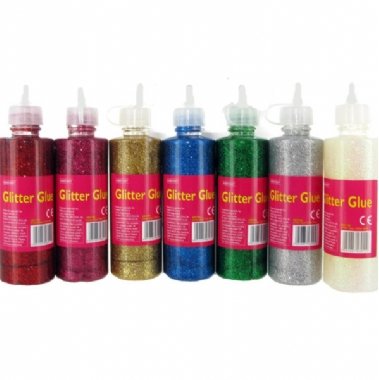
I’m using glitter glue and glitter in two colours. Pink and white ( or rainbow iridescent..)

966752

You’ll need quite a few little pots. Not to put paint into but to upend your eggs into. You can of course use egg cups but you’ll have to be bit careful not to paint or glitter them.

Firstly once you have blown your eggs…go here if you want to know how, you’ll need to paint them. I use a matt emulsion as it gives good coverage and you can get match pots in every colour imaginable. Cheap way to have many coloured eggs.

imgp0002

Paint the top and then the bottom pausing in between for them to dry. And use your bottle tops, little jars and other little pots to put them into.

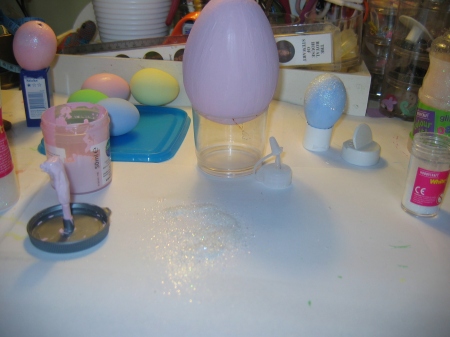
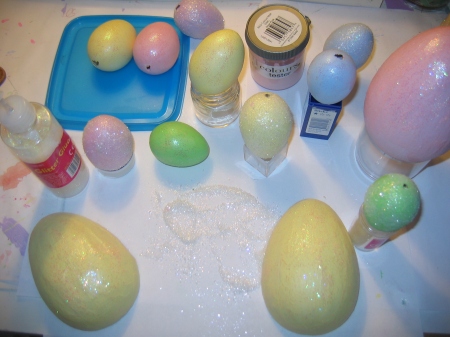
I like glitter glue. It’s inexpensive as it’s sold in places like Hobbycraft under their own label, for use by children. You can get it in many colours too. First paint your egg top with glitter glue. You can leave it like that if you wish or you can roll it in coarser glitter and allow it to dry.

Try a top in one colour and a bottom in another.

The upend the egg and start again.

The glue acts as a varnish too and make the egg a bit tougher.

IMG_5939

Then you can decorate them as you wish. I shall be using little flowers and paper and of course ribbons.
IMG_5942

58a3e5f

Well…I’ll Be Blowed!

March 2, 2013

Easter is a mere 30 days away.

Last year ( and the year before ) I decorated some eggs, which I displayed in a pretty bowl, and when my friends came round I gave them the pick of them to take home.

IMG_4757

The eggs I used were hand blown ( you can get plastic ones if you don’t fancy this )…we ate scramblies for days!

The best ones, I find, are those with a delicate but translucent shell like the ones laid by Cotswold Legbar chickens. They come in a dazzling array of colours from olive green to the most delicate shade of oyster pink.

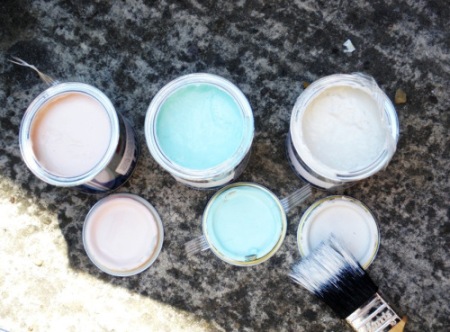
In previous years, I haven’t painted the eggs and just used the natural colours. This year I wanted something a little stronger coloured and so down to the local DIY I went and bought match pots in about five or six colours.

You’ll find they will be useful for other projects too.

Ever blown an egg?

Here’s how to do it.

You’ll need an egg cup, a pin, and wooden spoon, a darning needle, some kitchen towel, a bowl and a lot of puff!

FIRST

CLEAN YOUR EGG SHELL.

Then…

Put the egg narrow side up into the egg cup. With the pin ( or a fine needle ) tap the pin into the shell in the middle of the pointy end with the back of the wooden spoon. Make sure the pin goes in quite a long way.Wiggle it about a bit! You need to break the membrane inside the egg shell.

NEXT

Turn the egg and do the same to the other end. Now with the darning needle, lift a little more of the shell at this end until you have a hole as big as the top of a drawing pin.

NEXT

Shake the egg. Hold the egg over the bowl THEN put your lips to the small end and blow hard. Don’t let any air escape. Really blow hard. The egg yolk and white will rush out through the bigger hole into the bowl. Save this for scrambled eggs later.

Now run the egg under the tap with the large hole uppermost. Shake it and blow out the residue now and again. Put on the towel to dry thoroughly……and I mean thoroughly. You can put them near a radiator..it helps.

Once dry you can paint them with the match pots. Paint the top first and then put them into either an egg cup to dry or onto some inners of toilet tissue which you have kept for the purpose all these weeks. 🙂 Turn them when dry and paint the other half.

Then you are ready to decorate.

I’ll show you the fruits of my labours later on.

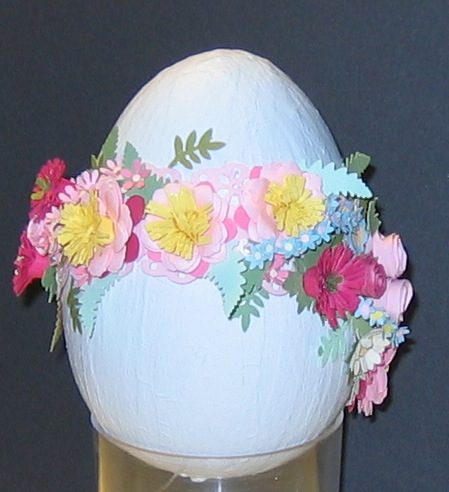
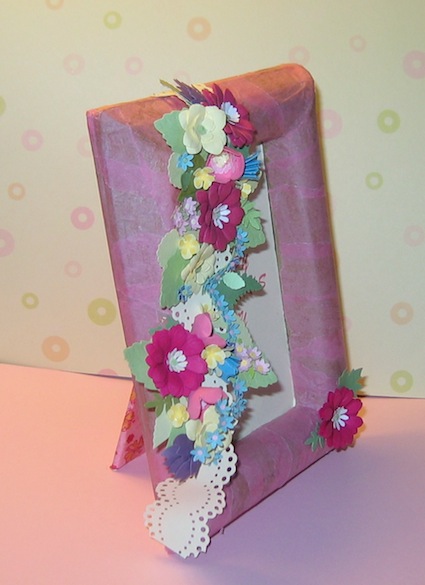
Meanwhile here is a large egg I did last year as a present for my Mother for Easter. She had the Matching frame too. For Mother’s Day.

IMG_4667

IMG_4663

I am going to try to attempt to use my tapestry stamps on some of these eggs…let’s see how we get on.

58a3e5f